Professional Exterior Cleaning & Pressure Washing Service
Hedon Exterior Cleaning is committed to keeping residential and commercial properties looking their best. We offer expert exterior cleaning and restoration services tailored to the needs of our customers across Hull and East Yorkshire.
Call Today 01482 898 742
PROFESSIONAL EXTERIOR CLEANING SERVICES FOR HULL
Explore Our Range of Exterior Cleaning Service
How to Repair Block Paving: A Step-by-Step Guide
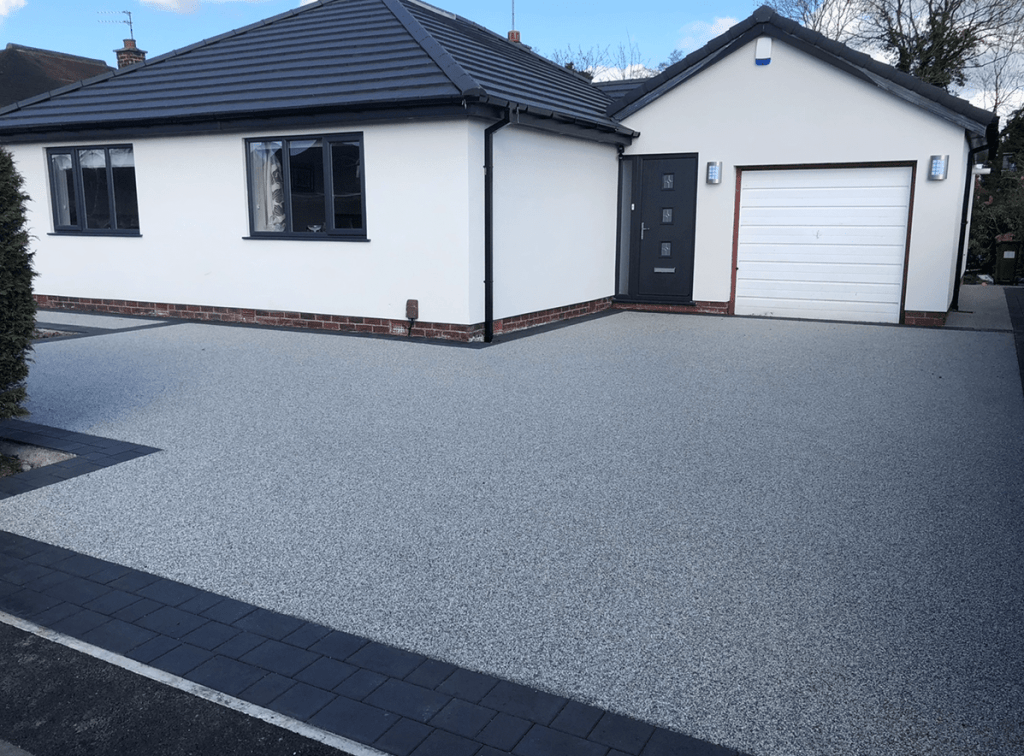
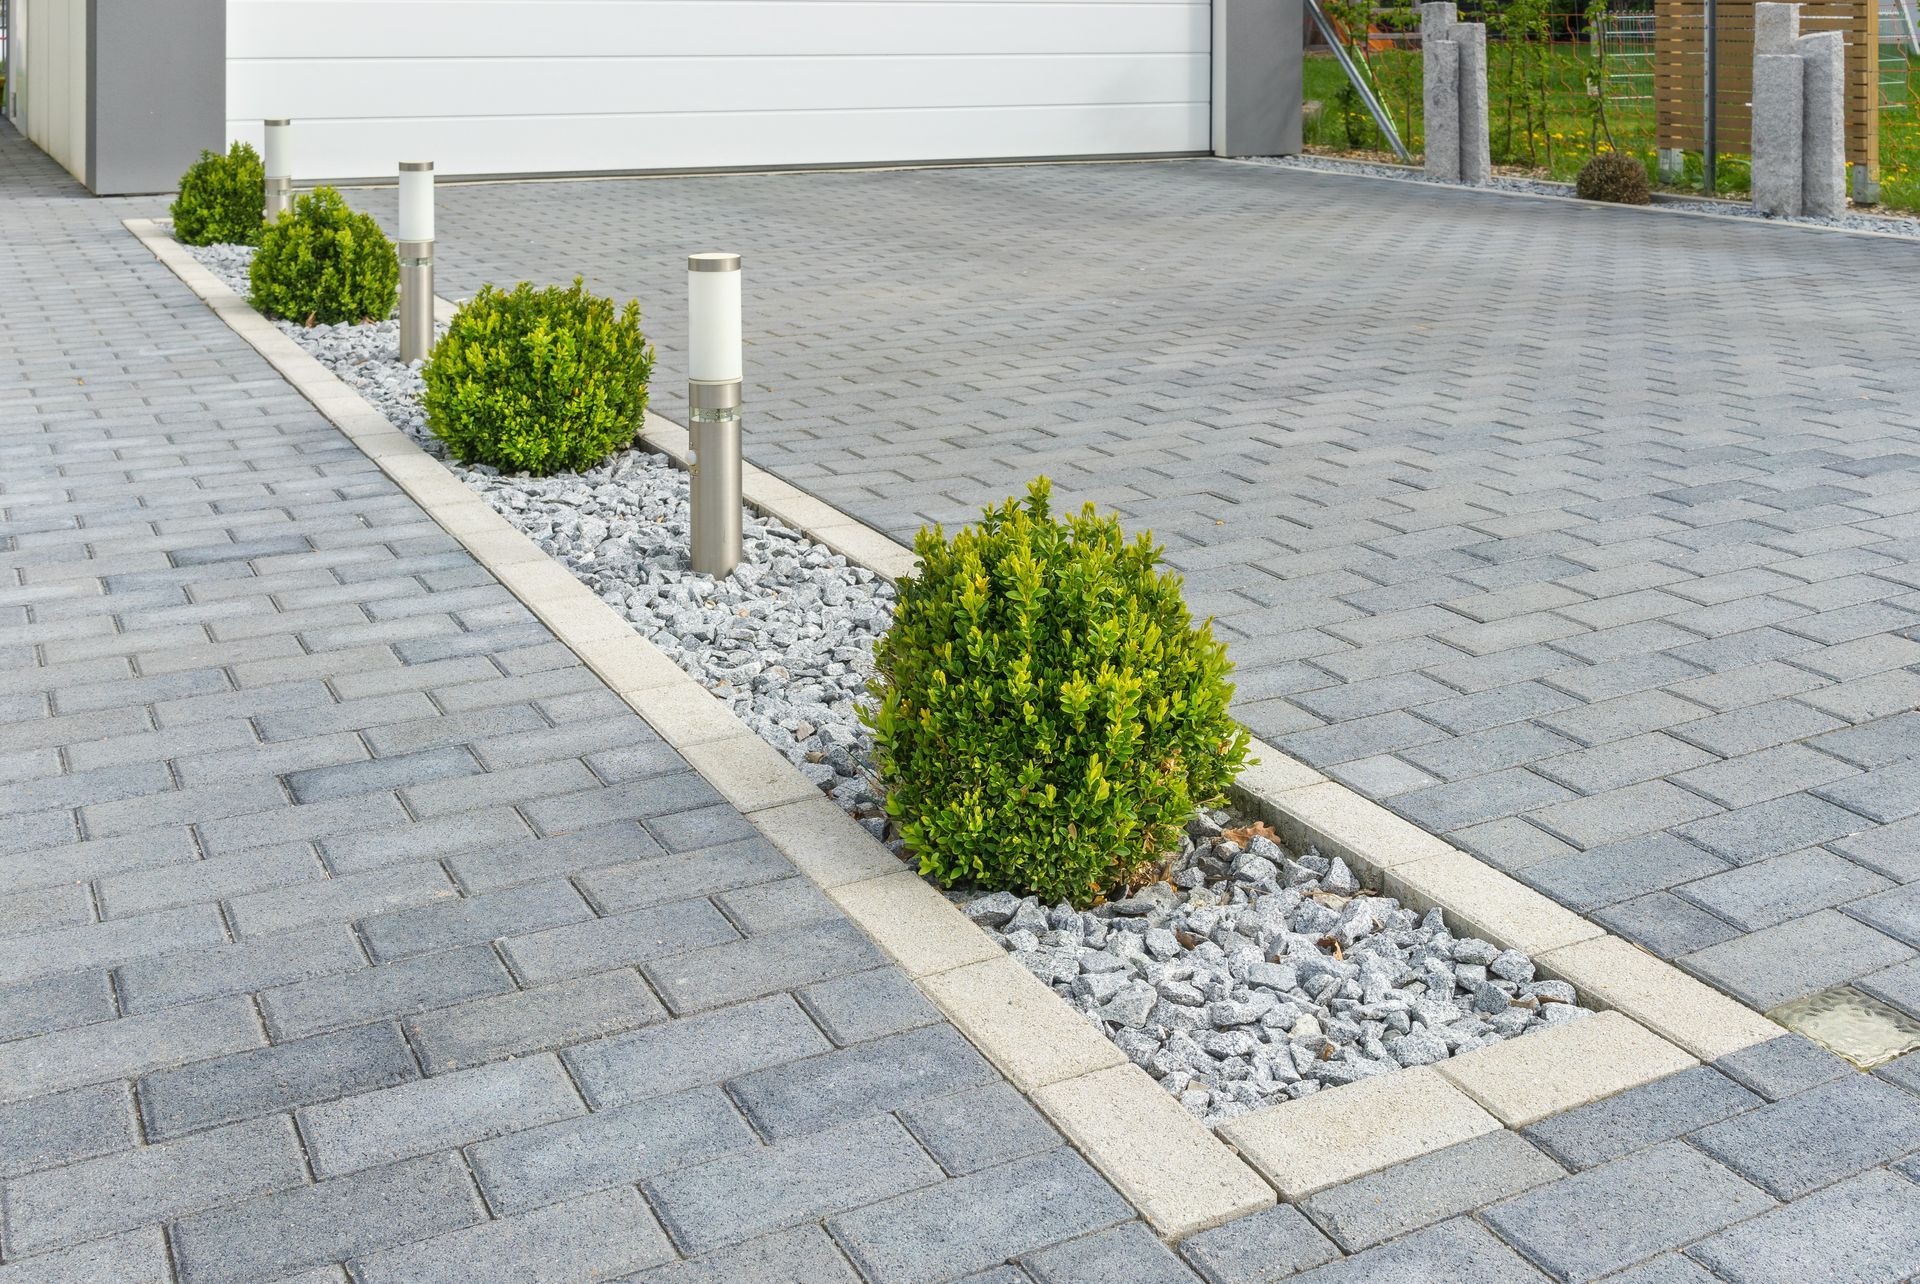
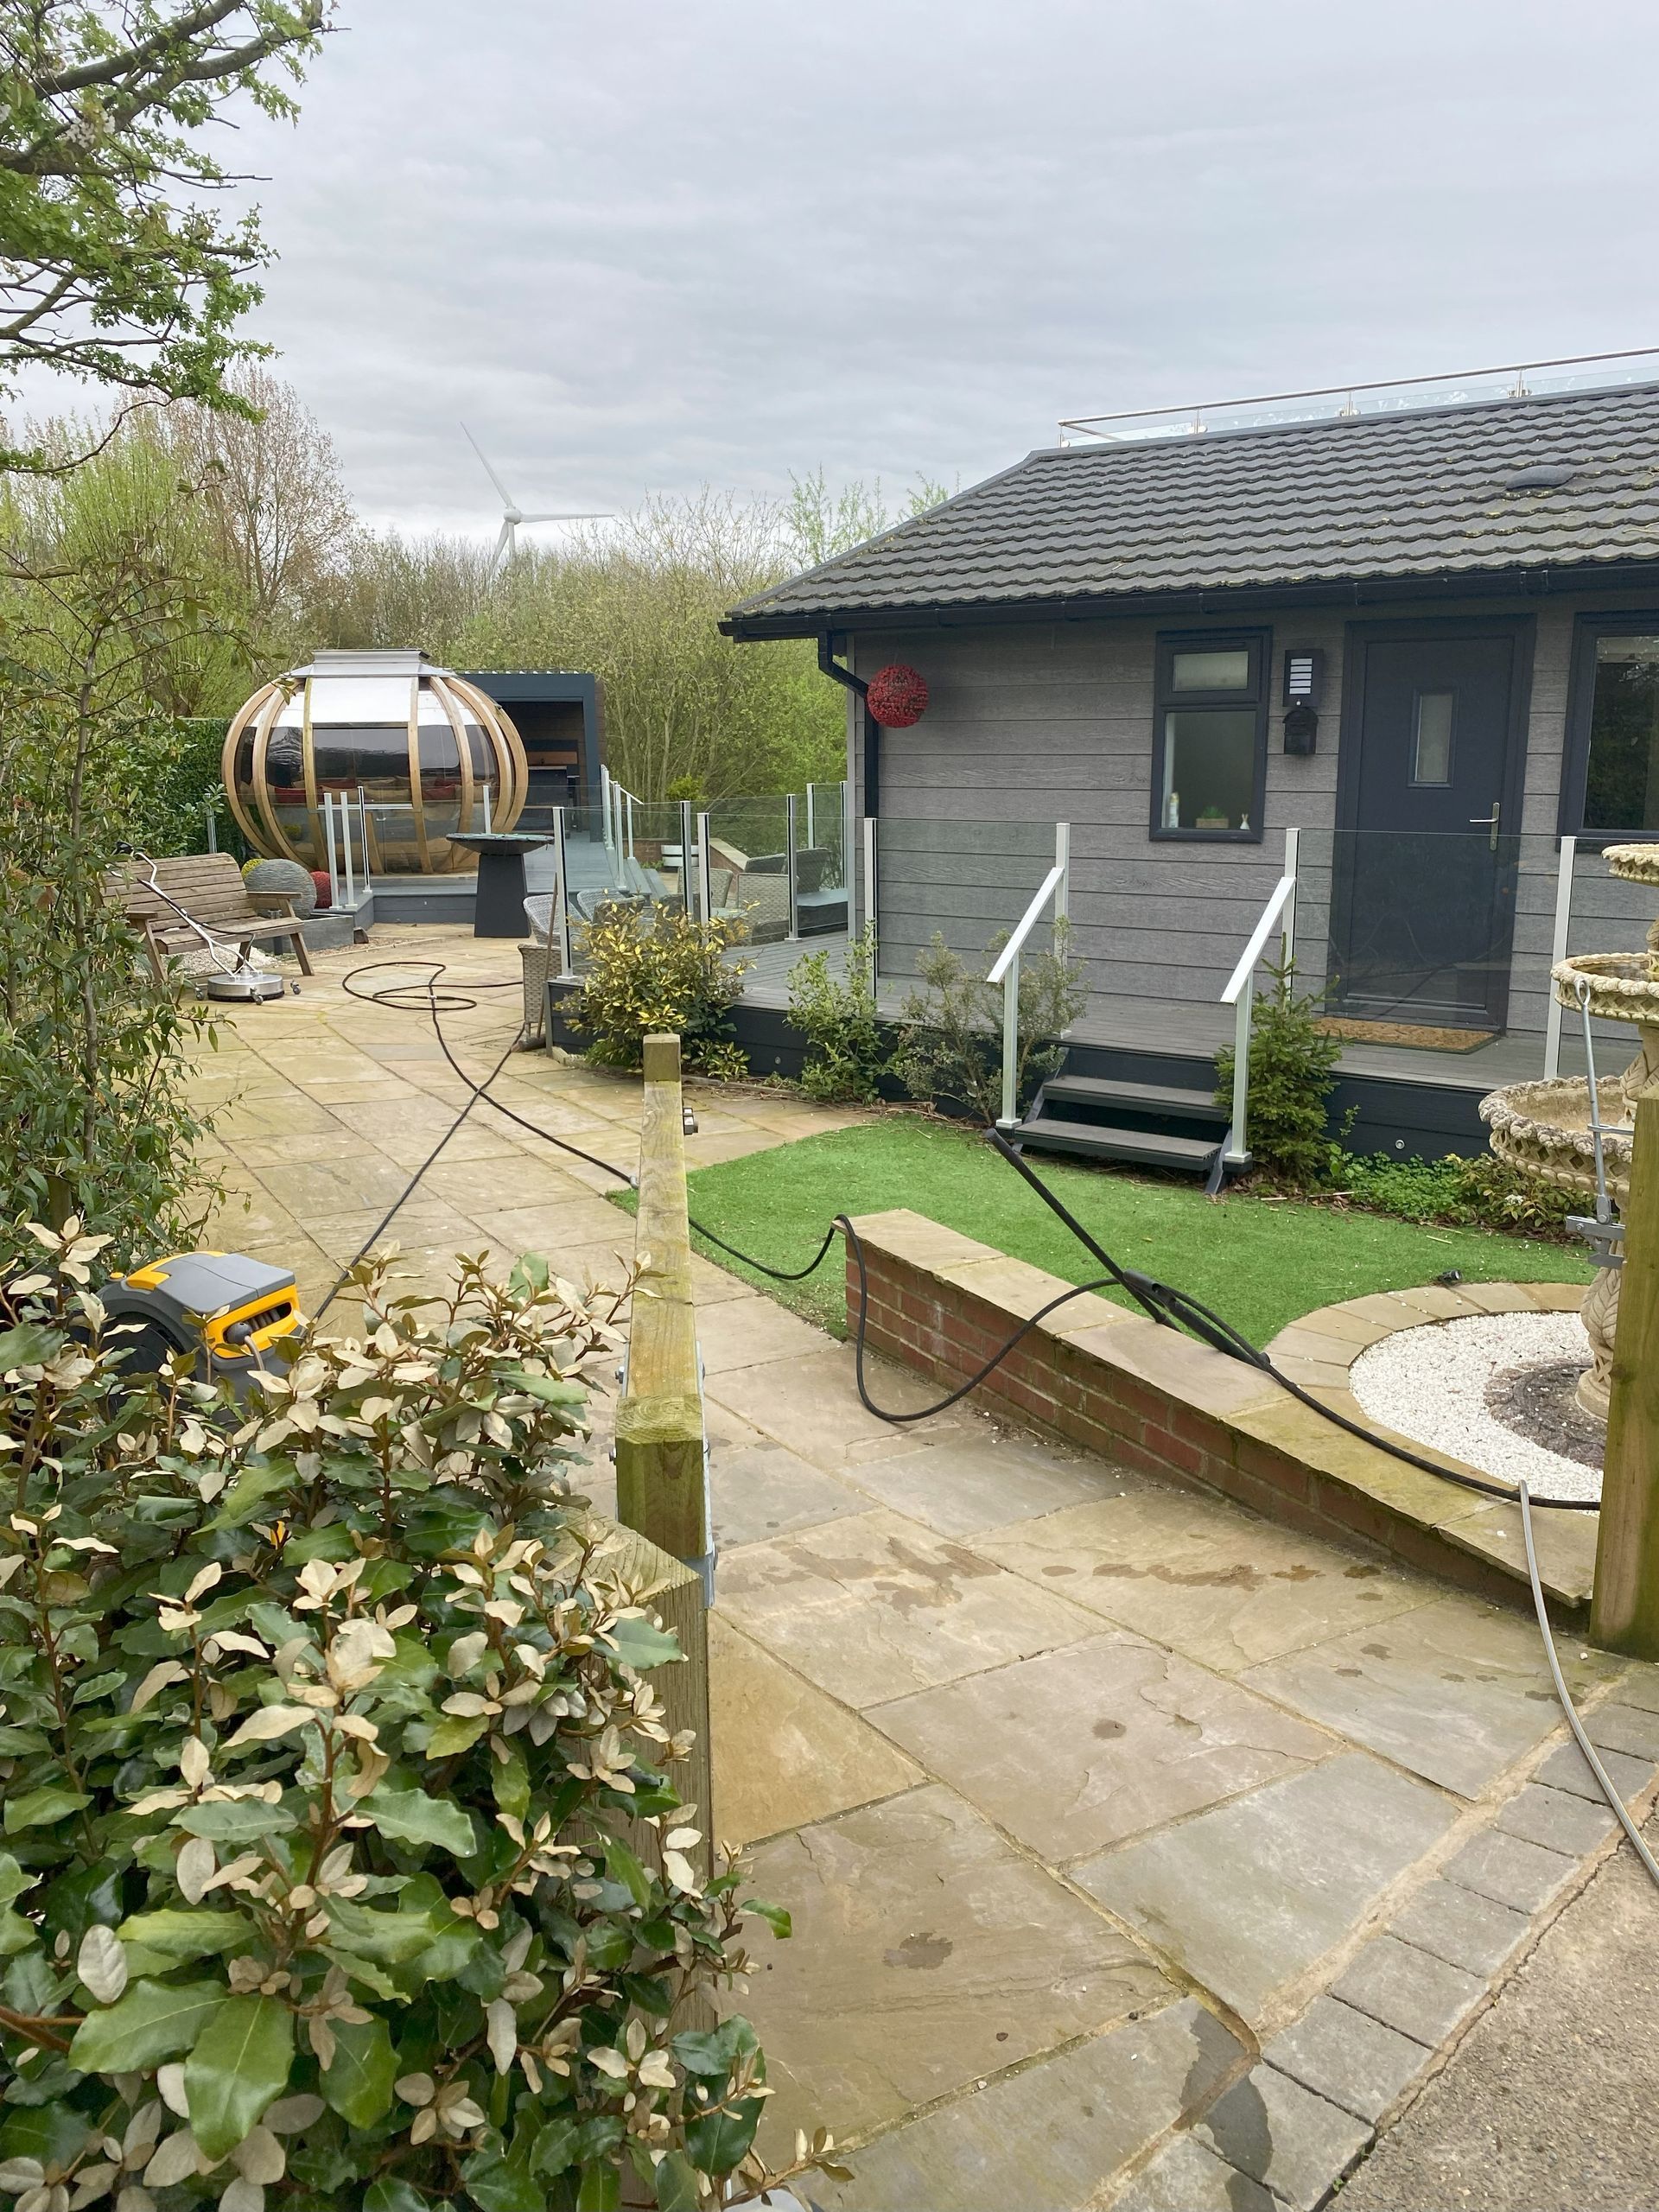
Block paving is a popular choice for driveways, patios, and walkways due to its durability and aesthetic appeal. However, over time, even the best-laid block paving can suffer from wear and tear, leading to uneven surfaces, loose blocks, and weed growth. Fortunately, most block paving repairs can be done with a little bit of effort and the right tools. In this guide, I'll walk you through the steps to repair your block paving and restore its original beauty.
Not feeling confident? Hedon Exterior Cleaning offers a complete block paving restoration service which includes repairs to block paving and uneven surfaces, professional block paving cleaning and application of block paving sealers to ensure your paving is protected and stays cleaner for longer. If you would like a free quote, please call 01482 898 742 or complete our online form.
Materials and Tools You’ll Need
Before starting, gather the following tools and materials:
- Replacement blocks (if necessary)
- Jointing sand
- A rubber mallet
- Screwdriver or chisel
- Pry bar or flathead screwdriver
- Plate compactor or hand tamper
- Broom
- Weed killer (optional)
- Garden hose or pressure washer
Step 1: Identify the Problem
First, assess the area that needs repair. Common issues include:
- Sunken blocks: Often caused by a poor base or erosion of the sub-base.
- Loose or wobbly blocks: Typically, due to a lack of sand in the joints.
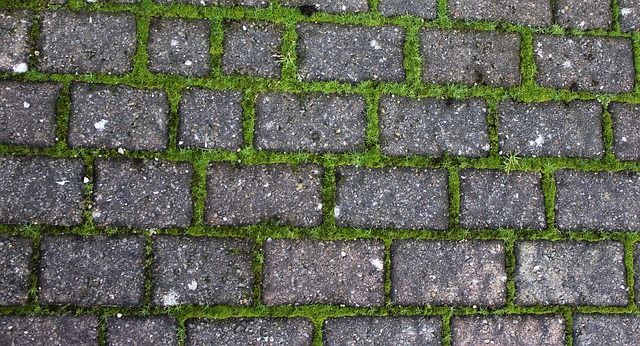
- Weed growth: A result of gaps in the joints where seeds have settled.
- Damaged blocks: Cracks or chips from heavy impact.
Identifying the specific problem will help you choose the right repair method.
Step 2: Remove the Affected Blocks
Using a screwdriver or chisel, carefully pry up the damaged or sunken blocks. If you need to lift multiple blocks, a pry bar can make this easier. Take care not to damage the surrounding blocks.
Step 3: Prepare the Base
If the problem was caused by sinking, the base might need some attention. Here’s how to fix it:
- Remove any debris or old sand from the base.
- Add fresh sand or gravel to fill any gaps and level the surface. Compact the base using a hand tamper or plate compactor to create a firm, even foundation.
Step 4: Reinstall the Blocks
Once the base is prepared, reinstall the blocks:
- Position the blocks carefully back into their original spots. If you’re using new blocks, ensure they match in size and color.
- Use a rubber mallet to gently tap the blocks into place so they sit level with the surrounding paving.
Step 5: Refill the Joints
To prevent future problems like weed growth or loose blocks, refill the joints between the blocks:
- Pour jointing sand over the entire area.
- Use a broom to sweep the sand into the joints. Make sure the sand is packed tightly to prevent movement.
- For added stability, consider using a wetting agent to help the sand settle more firmly into the joints.
Step 6: Compact the Paving
To ensure the blocks are firmly in place:
- Use a plate compactor to compact the entire area. If you don’t have a plate compactor, a hand tamper will suffice, although it may require more effort.
- Add more sand if necessary and re-compact the area until the joints are fully filled.
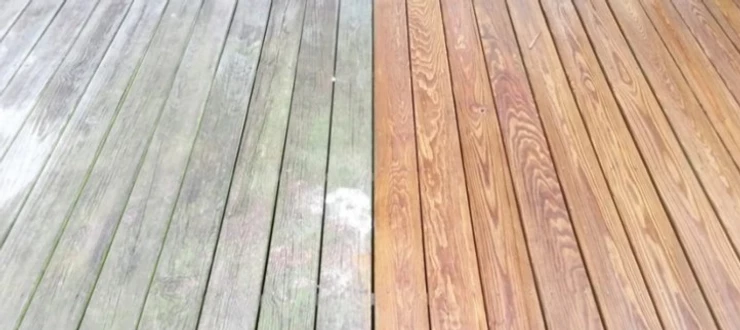
Step 7: Clean the Area
Finally, clean the repaired area to restore the paving’s appearance:
- Sweep away any excess sand.
- Use a garden hose or pressure washer to clean the surface. Be careful not to wash away the jointing sand.
- Apply weed killer if weeds have been a problem in the past.
Preventative Maintenance Tips
To keep your block paving looking its best and to avoid frequent repairs, consider these maintenance tips:
- Regularly sweep the area to keep dirt and debris from accumulating in the joints.
- Reapply jointing sand annually to maintain tight joints.
- Seal the surface every few years to protect against stains and weather damage.
- Address weed growth promptly with a suitable herbicide.
Conclusion
Repairing block paving is a manageable task with the right tools and a bit of patience. By following these steps, you can restore your paving to its former glory, ensuring it remains a durable and attractive feature of your outdoor space. Whether you’re fixing sunken blocks, replacing damaged ones, or simply refreshing the jointing sand, taking the time to do it properly will pay off in the long run.
CONTACT US
Green Road
Hedon
Hull, HU12 8EQ
East Yorkshire
01482 898 742

We will never share you information...
Contact us